Everyone makes at least one print using objects you found in the yard or around the house, then once they're dry, line them up on a table and pick the sharpest print and the strangest one.
Bonus challenge: Spell out a short word with small flat objects and see if anyone can read it in the finished blue.
Accept this questSaves it to your list, no account needed.
Time
2-3 hours (including dry time)
Cost
Supplies only
Starter gear from $45
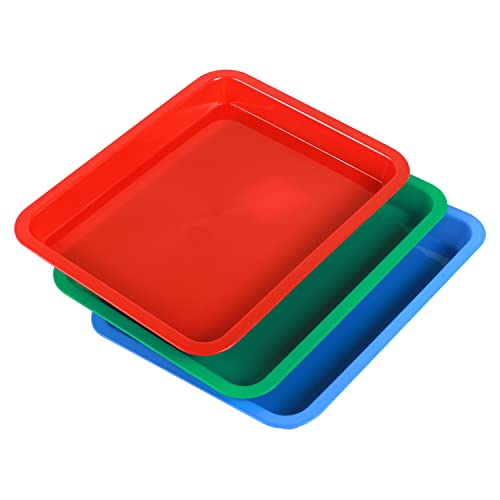
A 30-sheet pre-coated paper kit runs about $8, so roughly 25 cents a print. A clear acrylic panel is about $7 if your kit doesn't include one, and a plastic rinse tray is $8–12.
friends, family, kids, date night, solo · Kids 8+ with an adult handling the paper and the rinse tray
Level
Beginner
Where
Both
Season
Spring-Summer
Strong UV light essential—April through September gives fastest exposure times (5-15 min). Winter works but needs 30-45+ min exposures.
About This Quest
Grab a friend, a handful of leaves and some light-sensitive paper, and let the sun do your printing for you. You'll lay out shapes, carry the sheet into the noon sun, then rinse it in cool water and watch pale gray bloom into deep Prussian blue.
Sun printing is the closest thing to magic you can do with a tray of water. The paper arrives a dull yellow-green, and the sun turns whatever you place on it into a crisp white silhouette floating on rich blue.
You'll arrange flat objects on a coated sheet, press them under a clear panel, and give it five to fifteen minutes in direct sun. There's no mixing, no darkroom and no drawing skill required. Pick your favorite objects, make a print each, and see whose comes out sharpest.
Why This Quest Matters
Most art gives you time to second-guess yourself. This one hands you a sheet of paper and the sun, and ten minutes later there's a finished picture in your hands that you only partly control. The rinse is the best part: gray slides into blue while you watch, every single time, and it still feels like you got away with something.
What You'll Experience
Watch the color turn: Your yellow-green sheet shifts to gray-blue, then bronze, right there in the sun.
See the big reveal: Lift your objects off and find pale ghost shapes waiting underneath.
Rinse it into blue: Cool water pulls deep Prussian blue out of a dull gray sheet in minutes.
Print your favorite things: Feathers, ferns, keys, lace, a shoelace spelling out your name.
What You'll Need
Top gear to make this quest great.
Pull it off
Cyanotype Paper Kit (Pre-Sensitized Sheets)
Pre-coated sheets mean no chemistry to mix; open the bag and you're printing in minutes.
As an Amazon Associate I earn from qualifying purchases. Prices may change.
Before You Begin
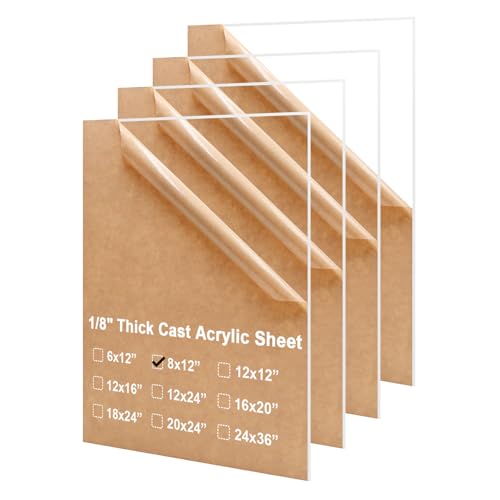
The whole setup takes about fifteen minutes, and the hardest part is choosing what to print. You'll want a pre-coated cyanotype paper kit (the sheets come treated with the light-sensitive coating, so there's no chemistry to mix), a clear acrylic or glass panel at least 8x10 inches, a plastic photo tray that never goes near food, and a pile of flat objects: ferns, feathers, lace, paper cutouts, keys. A splash of drugstore hydrogen peroxide (3%) in the rinse water deepens the blue. Sunscreen and a hat help, since you'll be standing in midday sun.
Safety Tips
A good quest stays a good story. These are general notes; your gear's manual, the venue's rules and local law come first.
The coating on the paper is not food-safe. Wear gloves if your skin is sensitive, keep the sheets and wet prints away from mouths, and wash hands after handling them.
Rinse only in a dedicated plastic photo tray, labeled and kept with your art supplies. Never use a bowl, baking dish or anything you eat from.
Rinse somewhere ventilated and keep kids and pets away from the tray. Pour the used water down the drain with the tap running, never onto the garden or into a storm drain.
Store leftover paper sealed in its light-proof bag, labeled, and out of reach of children.
Never use a flame, candle or stove to speed drying; the paper burns. Dry it flat on newspaper or hang it indoors.
You'll be outside between 10 AM and 2 PM, so wear a hat and sunscreen and keep water handy. An adult should stay with any child leaning over a hot acrylic panel.
Step-by-Step Guide
1
Hunt For Flat Treasures
15 min
Before any paper comes out, go collecting. Walk the yard or the park and grab ferns, grasses, feathers, flat leaves and seed heads. Raid a drawer too: lace, keys, paper cutouts, a chain. Flat things give the sharpest edges, so press bulky flowers in a book for a few minutes. Let everyone pick their own pile.
💡 Pro Tips:
• Thick objects let light sneak underneath and blur the outline, so flatter almost always beats prettier.
2
Lay Out Your Design
15 min
Work indoors in the shade under regular room light, well away from windows. Take one sheet from the bag and set it yellow-green side up. Arrange your objects on the coating, overlapping and off-center if you like, then lower the clear acrylic panel on top to press everything into full contact. Keep the rest of the paper in its bag.
💡 Pro Tips:
• Leave a little empty space at one edge; that solid patch of blue makes the white shapes pop.
3
Carry It Into The Sun
15 min
Here's the moment the sun takes over. Carry the whole sandwich flat into direct sunlight and set it down level. Watch the exposed paper go from yellow-green to gray-blue to a dull bronze-gray. In summer around noon that takes five to eight minutes; a spring afternoon needs ten to fifteen. Bronze-gray means done.
💡 Pro Tips:
• Strongest light is between 10 AM and 2 PM, and a cloud passing over just means you wait a little longer.
4
The Water Reveal
10 min
Bring the print straight indoors into dim light and lift the objects off. The shapes underneath look pale yellow-white, faint and a bit disappointing. Now slide the sheet into your plastic photo tray of cool water and leave it five minutes. The dull gray slips away into real blue while you stand there. Add a splash of 3% hydrogen peroxide for a faster, deeper blue.
💡 Pro Tips:
• Let whoever made the print do the submerging; the first ten seconds of color change are the best bit.
5
Dry, Flatten, Compare
50 min
Lay the wet print flat on newspaper or hang it indoors and give it about forty-five minutes. The blue keeps deepening as it dries, so your print is better than it looks right now. Once dry, lay everyone's work out and vote on sharpest and strangest. Slide them under heavy books overnight to flatten the curl.
💡 Pro Tips:
• Save your favorite objects in an envelope so you can run a rematch next sunny weekend with doubled-up layers.
You just printed a picture using sunlight and a tray of water. Prop the best one in a window and dare the person who doubted you to guess how it was made.
Grab a film camera, one roll or pack, and a couple of friends who like a dare. Each of you shoots the same scene three ways, calls your winner out loud, and nobody finds out who was right until the photos come back. No screen to peek at.
Carve it once, print it forever, give the best one away.
Grab a friend and spend an afternoon carving a design into a soft linoleum block, then rolling on ink and pulling print after print of the same bold image. Your first pull is the big moment: peel the paper back and your drawing is suddenly there in crisp black.