Carve one bold design, then pull at least three good prints from it. Lay them side by side, pick your sharpest one, sign it and give it to whoever carved alongside you.
Bonus challenge: Carve each other's initials into the corner of your blocks so every print is signed before the ink even hits it.
Accept this questSaves it to your list, no account needed.
Time
2-3 hours
Cost
Free with your own gear
Starter gear from $84
The kit runs about $50 as a one-time buy. After that, one ink tube covers 30-40 prints, and you're only paying for paper, roughly $5-15 a session.
solo, friends, date night, family · Teens 13+ with an adult watching during all carving; kids 10-12 only with an adult guiding their hand on every cut, or carving for them while they ink and press
Level
Beginner
Where
Indoor
Season
Year-round
About This Quest
Grab a friend and spend an afternoon carving a design into a soft linoleum block, then rolling on ink and pulling print after print of the same bold image. Your first pull is the big moment: peel the paper back and your drawing is suddenly there in crisp black.
Printmakers have been doing this for centuries, and the thrill hasn't changed: you carve a picture, ink it up, press paper on top, and lift off a copy you made with your own hands.
You'll sketch a simple high-contrast design, scoop it out of an 8x10 inch block with a V-gouge, roll on black ink and burnish the paper down. Bold shapes print better than fine detail, so beginners actually have the advantage here. By the end you'll have a stack of matching prints and a block you can use again forever.
Why This Quest Matters
There's a particular kind of pride in handmade copies. Not one precious original, but eight or ten prints you can give away, frame, mail, tape above your desk. The block remembers your design, so every time you ink it up again, it comes back. You made something that keeps making itself.
What You'll Experience
Watch linoleum curl away: Good cuts peel off in thin ribbons, and you can feel when you've got it.
Pull your very first print: Peel the paper back and see your drawing appear in sharp black ink.
Make a matching set: One inked block gives you print after print of the same bold image.
Name your design: Give your block a title and hand the best print to someone you like.
What You'll Need
Top gear to make this quest great.
Pull it off
Speedball Linoleum Cutter Set with Interchangeable Blades
Five gouge shapes in one handle let you cut fine outlines and scoop out big areas.
As an Amazon Associate I earn from qualifying purchases. Prices may change.
Before You Begin
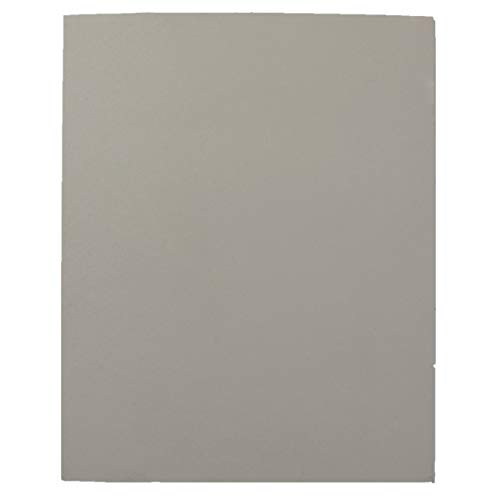
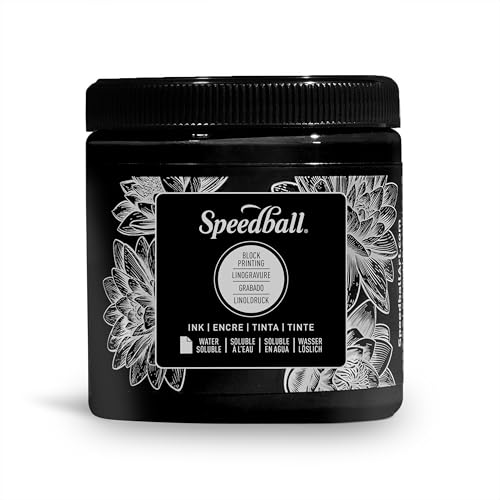
Clear a table, pour a drink, and give yourself a full afternoon with no rush. Essential: a linoleum cutter set with five interchangeable gouges, an 8x10 inch unmounted gray linoleum block, water-based block printing ink made for relief printing on paper, a 4-inch hard rubber brayer, and a non-slip mat or bench hook to brace the block. Handy extras: a bamboo baren (presses paper more evenly than a spoon and won't tear it), graphite transfer paper for moving your sketch onto the block, and a soft brush to sweep away carved crumbs. Have bandages and antiseptic on the table before the first cut.
Safety Tips
A good quest stays a good story. These are general notes; your gear's manual, the venue's rules and local law come first.
Most cuts happen when the block slides, not when the blade slips. Brace your block against a bench hook or non-slip mat every single time.
Always push the gouge away from your body, and keep your other hand flat on the table behind the tool. Never curl it around the far side of the block.
Keep your free hand out of the blade's path entirely, and stop carving as soon as your hand feels tired.
Store spare blades in the handle's end compartment with the points inward, exactly as the cutter set instructs.
Teens 13+ need an adult actively watching during all carving. Kids 10-12 need an adult's hand on the tool for every cut, or let the adult carve while the kid does the inking and pressing.
Have bandages and antiseptic within reach before you start, not after.
Step-by-Step Guide
1
Sketch Something Bold
25 min
Draw simple. A leaf, a cat's silhouette, a mountain, a bird. Chunky shapes print beautifully and thin wiggly lines fight you, so aim for something with more black than white in it. Then transfer your sketch onto the block with graphite paper, or just draw straight on with a pencil, and shade every area you plan to carve away.
💡 Pro Tips:
• Text and lopsided shapes print backwards, so flip them in a mirror before you transfer.
2
Carve Your Block
60 min
Brace the block on your non-slip mat. Start with the small V-gouge to outline your shapes, pushing the blade away from you with your other hand flat on the table behind it. Then switch to the wide U-gouges to scoop out big open areas. Warm linoleum carves like butter, so sit the block somewhere cozy for a few minutes first.
💡 Pro Tips:
• Good cuts peel off in thin curls. If the linoleum crumbles instead, it's too cold or you're pushing too hard.
3
Ink It Up
10 min
Brush away all the carved crumbs first, or they'll print as specks. Squeeze a line of black ink onto a glass sheet or old ceramic tile and roll the brayer through it until it sounds tacky rather than wet. Then roll ink across your block top to bottom, then side to side. The raised parts drink it up and the grooves stay clean.
💡 Pro Tips:
• A quick test roll partway through carving shows you exactly which areas are still raised.
4
Pull the First Print
10 min
Here's the moment. Lay your paper down on the inked block and don't let it shift. Press with the baren in small circular motions, working from the center outward, for a solid 30 to 60 seconds. Lift one corner to check your coverage, press any pale spots again, then peel the whole sheet off. Your design, in crisp black, made by you.
💡 Pro Tips:
• Lay each print flat to dry for 15 to 20 minutes before anyone touches it.
5
Print the Whole Stack
25 min
The block is inked and you've got the technique, so keep going. Re-roll ink between prints and pull three, five, ten copies. Line them up and compare: the later ones usually beat the first. Pick your sharpest print, sign the corner and hand it to whoever carved beside you. Then clean the brayer and palette with soap and water right away.
💡 Pro Tips:
• Dried water-based ink is almost impossible to remove, so wash your tools the second you stop printing.
6
Store It for Next Time
10 min
Stack your dry prints flat with newsprint between them so nothing smudges. Wrap your block and tuck it away, because a carved block lasts indefinitely. Any time you want more copies, it's ten minutes of inking and you're printing again. Give the design a name while you're at it.
💡 Pro Tips:
• Pencil the design name on the wrapping so you can find the right block in a year.
You carved a block from scratch and printed a stack of copies from it. Frame your best one, then dare your carving partner to beat it next weekend.
Carve once, print forever—turn blank fabric into wearable art with hand-cut stamps.
Carve your own stamps and print repeating patterns on fabric. Turn blank tote bags and tea towels into custom pieces using traditional block printing techniques.