Master urban photography through structured practice zones. Learn street photography techniques, architectural shots, and night exposures across different city environments.
Urban photography requires more than wandering with a camera. This quest breaks down city shooting into four distinct practice zones, each targeting specific technical skills. The morning light hits brick facades best between 7:30-9AM, creating that warm contrast you see in professional street photography. Glass towers work differently—shoot them midday when clouds create natural diffusion, or during blue hour when interior lights add dimension.
You'll rotate through street candids, architectural geometry, motion blur experiments, and night exposure challenges. Each zone has specific camera settings to practice and compositional rules to test. If you're working from a handset instead of a dedicated body, our phone photography gear guide covers the clip-on lenses and stabilizers that make these zones workable. The alley behind commercial districts at 6PM gives you backlit silhouettes. The pedestrian bridge at rush hour teaches panning technique with moving subjects. Downtown intersections after dark force you to balance ambient light with artificial sources.
This isn't about getting one perfect shot. It's about shooting 50+ frames in each zone, reviewing what worked, then returning to the same spot under different conditions. You'll learn why f/8 fails in low light, when to trust auto-ISO, and how shutter speed changes the story. The subway entrance steam at dawn looks completely different than at midnight. That's the education.
Why This Quest Matters
You'll stop wandering aimlessly and start building real technical muscle memory. After cycling through these four zones multiple times, you'll instinctively know which settings match which light, and why the same corner at 7AM tells a completely different story than at 7PM. This is how you move from hopeful snapshots to intentional photographs.
What You'll Experience
How aperture, shutter speed, and ISO interact in real urban conditions
Why the same location transforms under different light and weather
Panning technique and motion blur control with low keeper rates
Blue hour timing and mixed artificial light balance
How to review shots analytically and target specific technical weaknesses
What You'll Need
Top gear to make this quest great.
Pull it off
Joby GorillaPod 3K Kit
Solves the night photography challenge without carrying a full tripod through the city. Wrap it around street signs or bike racks for stable long exposures. The ball head lets you shoot at angles impossible with traditional tripods, essential for Zone 4 light trail work.
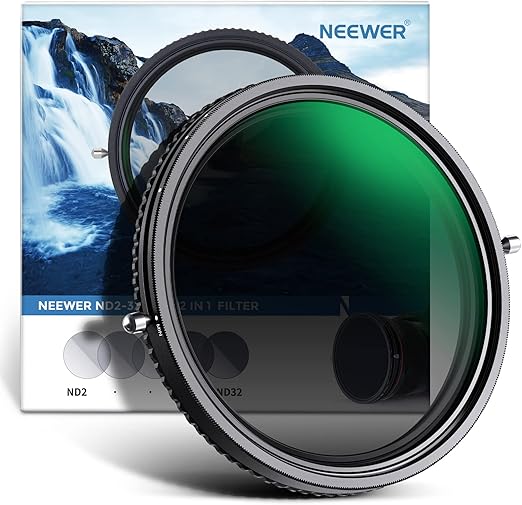
Enables motion blur experiments during daytime—shoot flowing fountains, blurred pedestrian traffic, or light trails from vehicles even in harsh afternoon sun. Transforms Zone 3 practice by removing the constraint of only shooting motion at dawn or dusk.
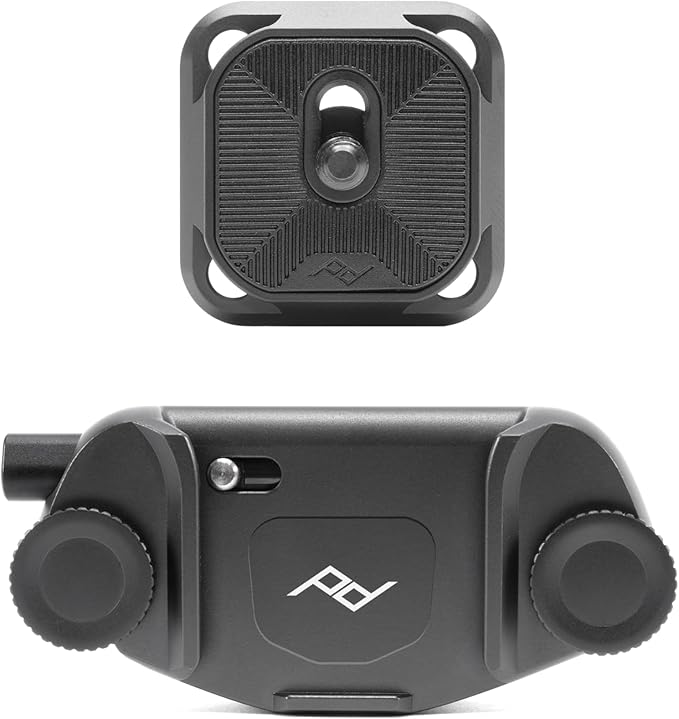
Critical for street candids where the decisive moment happens in seconds. Keeps your camera secure but instantly accessible while walking through pedestrian zones. Eliminates the amateur look of cameras hanging around necks, which makes subjects more guarded.
As an Amazon Associate I earn from qualifying purchases. Prices may change.
Step-by-Step Guide
1
Scout four distinct practice zones
Map out your training circuit: a street-level pedestrian area for candids, an architectural site with strong geometry, a location with predictable motion (traffic, escalators, fountains), and a spot with mixed artificial lighting for night work. Visit each in advance to confirm angles and access.
💡 Pro Tips:
• Commercial district alleys at 6PM deliver backlit silhouettes
• Pedestrian bridges during rush hour teach panning with moving subjects
2
Zone 1: Shoot street candids in morning light
Hit your pedestrian zone between 7:30-9AM when warm light rakes across brick facades. Set aperture priority at f/4-5.6, ISO 400, continuous autofocus. Shoot 20 frames practicing layered compositions—foreground subject, midground activity, background context. Note which focal length feels natural; 35mm typically wins here.
3
Zone 2: Practice architecture in harsh midday
Work during the light most photographers avoid. Shoot straight-up at building lines, using converging verticals intentionally. Photograph the same corner from three different distances. Try f/11 for sharpness, watch your histogram for blown highlights on reflective glass or glass towers with cloud diffusion.
4
Zone 3: Experiment with motion and shutter speed
Start at 1/500s to freeze a cyclist mid-frame. Drop to 1/60s and pan with moving subjects—your keeper rate will be under 10%, that's normal. Try 1/4s braced against a wall, letting pedestrians blur while architecture stays sharp. Shoot 50+ frames to understand how shutter speed changes the story.
💡 Pro Tips:
• Peak activity hours give you more subjects to practice panning technique
5
Zone 4: Capture blue hour and night exposures
Arrive after sunset but before full dark—this 30-minute window is critical. Shoot at f/2.8 or wider, ISO 1600-3200, stabilization enabled. Capture neon signs reflecting in puddles, car light trails at 2-second exposures, people in doorways where interior light creates natural edge lighting. Learn why f/8 fails in low light and when to trust auto-ISO.
💡 Pro Tips:
• Subway entrance steam at dawn looks completely different than at midnight
6
Review shots and build a return schedule
That same evening, review on a larger screen while conditions are fresh in memory. Flag frames where exposure or composition worked, note exact settings used. Identify one technical weakness to target next session. Create a shot list for the same locations at different times, weather, seasons—urban photography skill comes from understanding how places transform.
Solves the night photography challenge without carrying a full tripod through the city. Wrap it around street signs or bike racks for stable long exposures. The ball head lets you shoot at angles impossible with traditional tripods, essential for Zone 4 light trail work.
Review and flag shots immediately after each zone session while lighting conditions are fresh in memory. The histogram analysis teaches you what proper exposure looks like. Sync edits across similar shots to understand how settings translate to final images.
Mobile photo editing app with professional-grade tools for exposure, color grading, and batch processing
Enables motion blur experiments during daytime—shoot flowing fountains, blurred pedestrian traffic, or light trails from vehicles even in harsh afternoon sun. Transforms Zone 3 practice by removing the constraint of only shooting motion at dawn or dusk.
Neutral density filter that reduces light entering the lens without affecting color, allowing longer exposures in bright conditions
Critical for street candids where the decisive moment happens in seconds. Keeps your camera secure but instantly accessible while walking through pedestrian zones. Eliminates the amateur look of cameras hanging around necks, which makes subjects more guarded.
Camera clip that attaches to your belt or bag strap, allowing instant access without a neck strap or fumbling in a bag
Today, you're going to melt, scent, and pour your own glowing candles from scratch.
Transform raw wax into glowing works of art by melting, scenting, and pouring your own custom candles. You'll measure and melt wax, blend fragrances to create signature scents, position wicks in decorative containers, and watch as liquid transforms into solid—emerging with hand-poured candles that fill your space with ambiance and your chosen aroma. This tactile craft combines chemistry and creativity, teaching you the fundamentals of candle composition while you design candles perfectly suited to your aesthetic and scent preferences.