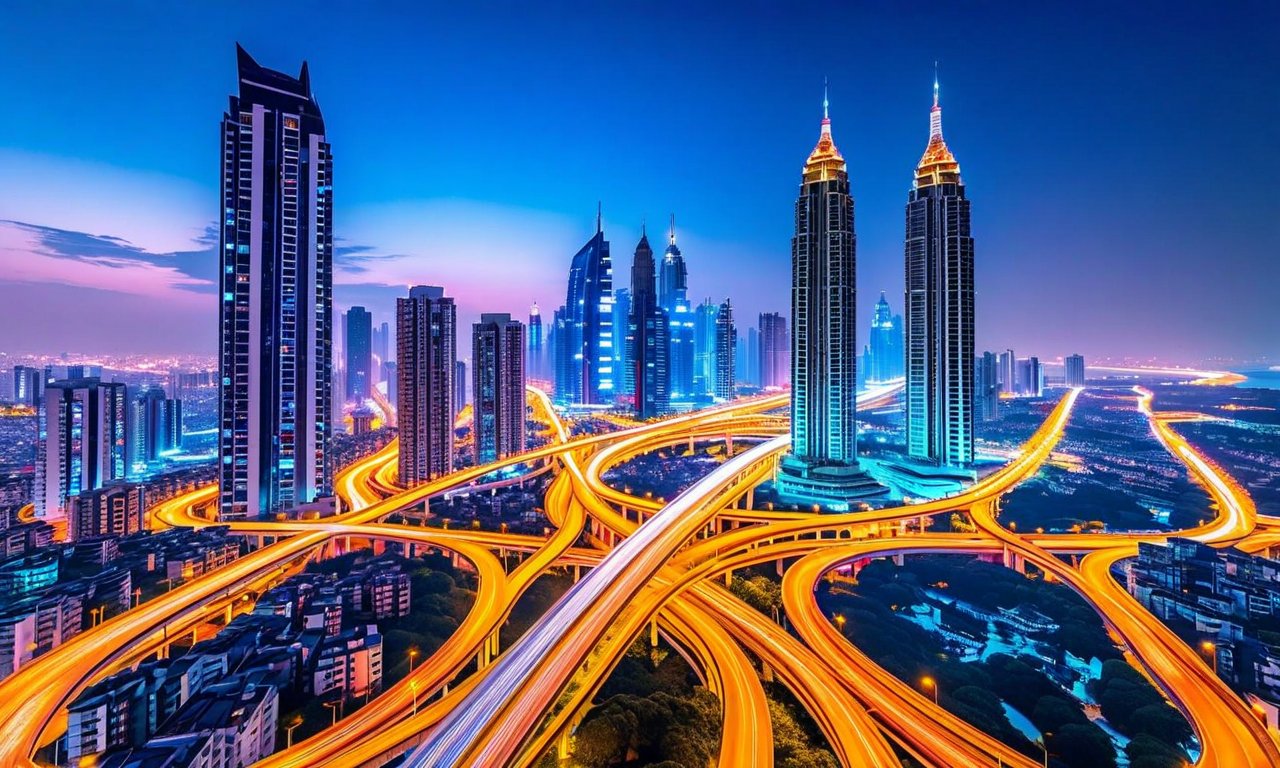
Night Photography: Capture the City After Dark
The city transforms when the sun drops—you just need to know how to see it.
About This Quest
Learn to shoot stunning night photos with practical techniques for capturing cityscapes, light trails, and nocturnal scenes using manual camera settings.
Night photography isn't about expensive gear—it's about understanding light when there isn't much of it. You'll learn why your phone struggles after sunset (hint: physics), and how to work with what little light exists. The best part? Cities reveal details at night they hide during the day: neon reflections in puddles, headlight streaks forming rivers of red and white, building windows glowing like scattered constellations. This quest walks you through manual camera basics without the jargon overload. You'll start with stationary subjects—storefronts, monuments, parked cars with interesting shadows—then progress to capturing motion through long exposure. Expect trial and error. Your first twenty shots might be blurry or overexposed, and that's normal. By shot fifty, you'll instinctively know whether you need 5 seconds or 20. The golden hour for night photography actually happens twice: right after sunset when artificial lights compete with fading daylight (called blue hour—sky turns deep indigo), and full darkness when contrast peaks. Scout locations during daylight first. That alley with interesting graffiti? Completely different when a single streetlight hits it at an angle. A parking garage's spiral ramp becomes geometric art with taillights tracing curves. You're not just taking photos—you're documenting how your city reimagines itself every night.
Step-by-Step Guide
Scout your location during daylight. Identify stable surfaces at ground level (ledges, railings, benches) for camera placement. Note where streetlights cast interesting shadows or where traffic flows for light trails.
Arrive 30 minutes before full darkness during blue hour. The sky retains color while artificial lights turn on—this 20-minute window gives you layered lighting that pure darkness can't match.
Switch to full manual mode. Start with ISO 800, aperture f/8, and shutter speed 4 seconds. Take a test shot. Too dark? Increase ISO to 1600 or extend shutter to 8 seconds. Too bright or blurry? Decrease ISO or shorten shutter time.
Stabilize your camera. Use a tripod, or improvise with a wall, car roof, or backpack on a flat surface. Even resting the lens on a jacket folded on a ledge works. Movement during exposure = unusable blur.
Focus manually on a high-contrast edge—a lit window frame, street sign, or building corner. Autofocus hunts in darkness and often guesses wrong. Zoom in on your screen to verify sharpness before shooting.
For light trails: Find a road with consistent traffic. Set shutter to 15-30 seconds, ISO 400, f/11. Capture at least five passes to get clean streaks without gaps. Buses and trucks create thicker trails than cars.
Experiment with foreground elements. A wet street doubles your lights through reflection. Shoot through chain-link fences for bokeh effects. Frame neon signs with dark architectural elements to create depth.
Review images by zooming to 100% on your screen. Night shots that look sharp at thumbnail size often reveal camera shake or missed focus when enlarged. Delete the marginal ones immediately—you'll thank yourself later.
Adjust white balance if colors look off. Streetlights skew orange (try 3200K), LED signs run cool blue (5500K). Shoot RAW if your camera supports it—you can fix white balance perfectly in editing without quality loss.
Take warmup and cooldown shots. Your first ten images help you calibrate settings; your last ten happen when you've stopped overthinking. Often those throwaway final shots capture something unexpected.
Gear Up for Your Quest
Get everything you need to make this quest amazing.
Flexible Mini Tripod with Phone Mount
EssentialCompact tripod with bendable legs that grip poles, wrap around railings, or stabilize on uneven surfaces, includes smartphone adapter
Get This ItemSmall LED Flashlight or Headlamp (Red Light Mode)
EssentialCompact flashlight with adjustable brightness and red light option that preserves night vision
Get This ItemWired or Bluetooth Remote Shutter
RecommendedRemote trigger that activates your camera shutter without touching the device, works via cable or Bluetooth depending on model
Get This ItemNeutral Density (ND) Filter Set
OptionalDark glass filters that screw onto your lens, reducing light entering the camera without affecting color (like sunglasses for your lens)
Get This Item💙 Shopping through these links helps support IRL Sidequests at no extra cost to you. Thanks for making adventures possible!
Editor's Picks
Hand-selected quests our team thinks you'll love

Tabletop Firepit Night
Cozy, gooey, unforgettable nights.

Cocktail Science Lab
Turn your kitchen into a mad scientist’s bar.
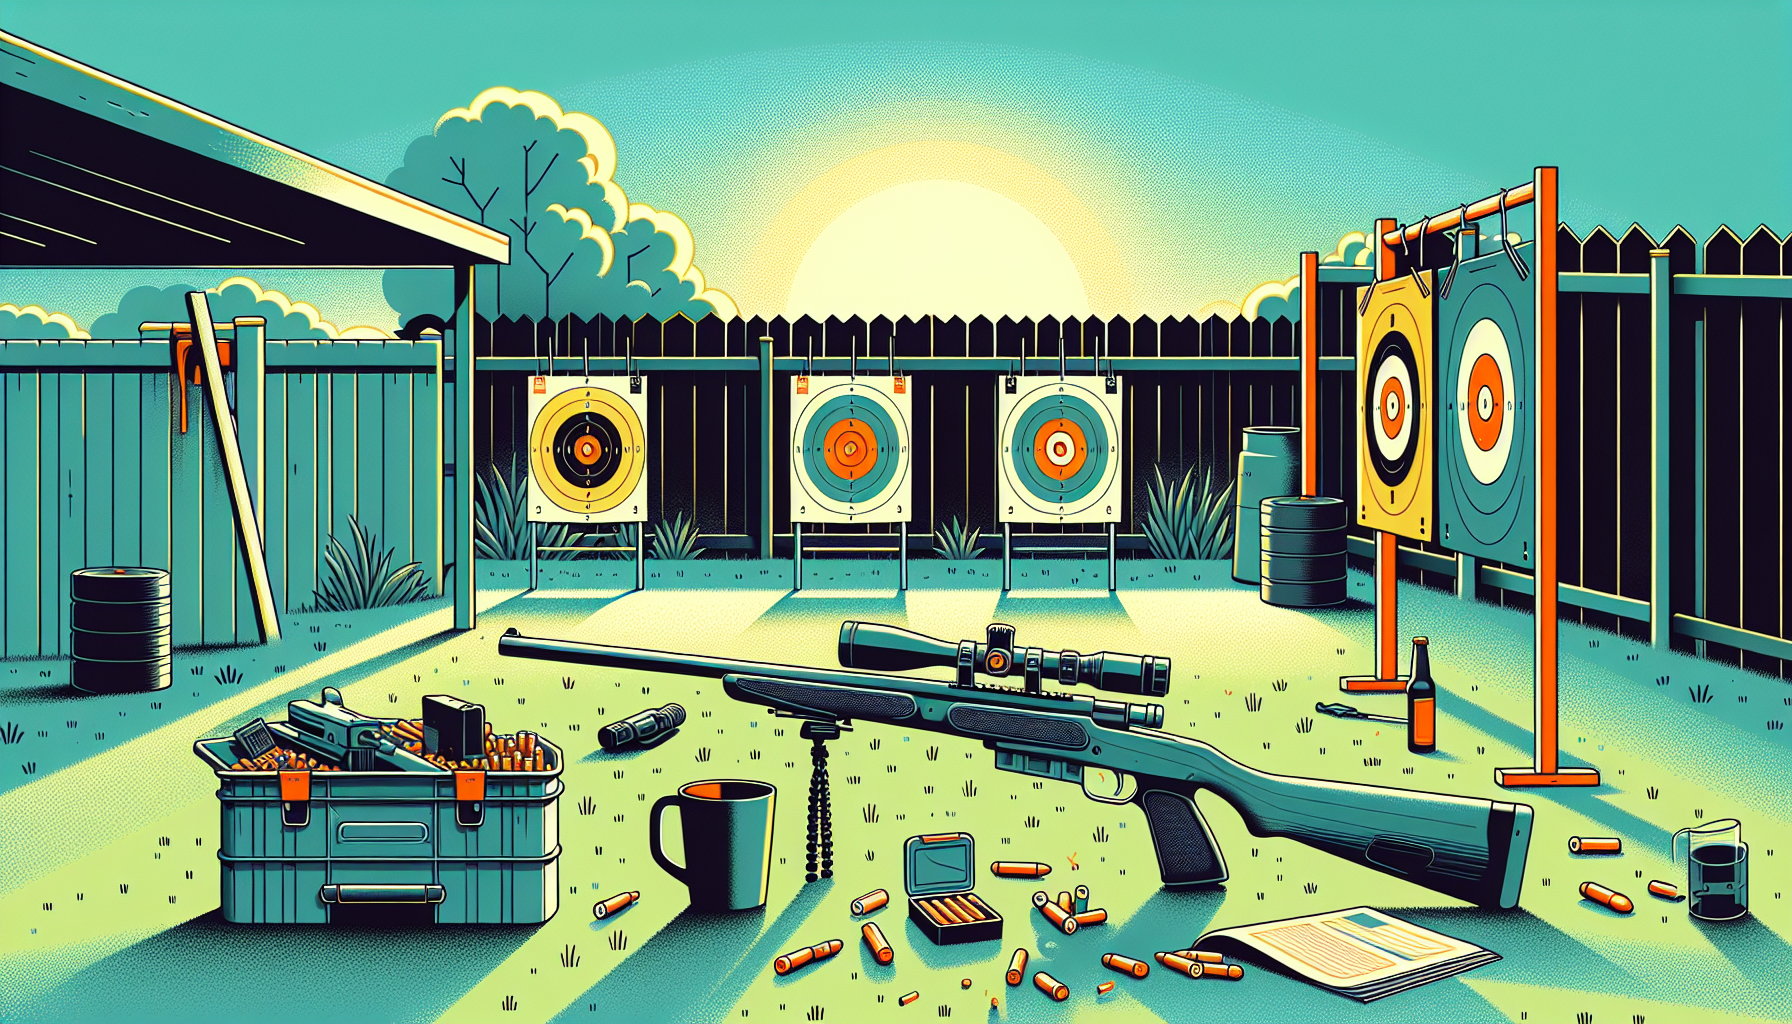
Pellet Gun Accuracy Challenge
Sharpshooter bragging rights start here.