Finish three postcard-sized pieces, each using at least two techniques layered on top of each other. Then lay them out, let everyone at the table pick a favorite, and give that one a title out loud.
Bonus challenge: Trade pieces halfway through and add one layer to someone else's postcard.
Accept this questSaves it to your list, no account needed.
Time
2-3 hours
Cost
Free with your own gear
Starter gear from $90
Paper, paint, pens and gel pens are one-time buys, roughly $25 each. After that a session costs almost nothing: salt, plastic wrap, a glue stick and whatever junk mail is already on the counter.
friends, family, date night, solo · Kids 8+ with an adult; an adult handles any open flame, or skip it and use a white crayon
Level
Beginner
Where
Indoor
Season
Year-round
About This Quest
Grab a friend, cover a table in newspaper, and make three postcard-sized experiments together. Salt on wet paint, torn junk mail, white crayon hiding under a wash of color. Nobody knows what will happen, which is exactly the fun part.
Three little papers, four messy tricks, and a table you don't have to keep tidy. Over a couple of hours you'll drop paint into puddles, press crumpled plastic wrap into it, glue down torn magazine color and scribble secret shapes in white crayon that only show up once the paint goes over them.
Nothing here needs a steady hand or a plan. Postcard-sized paper means a wobbly result took ten minutes, not ten days. At the end, everyone lays their three pieces out and picks a favorite to name.
Why This Quest Matters
Blank paper gets intimidating when it's big and you only get one shot. Three postcards change the math: you can ruin one and still be having a great time. Salt blooms, wax resists and torn paper do half the work for you, so the surprises come fast. You'll finish with proof that you can make something nobody has seen before.
What You'll Experience
Watch salt do the work: Coarse salt on wet paint pulls pigment into crystal starbursts you couldn't draw on purpose.
Paint over hidden drawings: Scribble in white crayon, wash color over it, and watch your secret lines appear.
Rip up the junk mail: Tear color blocks from magazines and arrange them before a single drop of glue.
Name your favorite: Lay all three pieces out, pick the winner, and give it a ridiculous title.
What You'll Need
Top gear to make this quest great.
Pull it off
Cold-Press Watercolor Paper Block (140 lb, 9x12 inch)
Heavy textured paper that soaks up wet layers without buckling, and the glued edges mean no tape.
As an Amazon Associate I earn from qualifying purchases. Prices may change.
Before You Begin
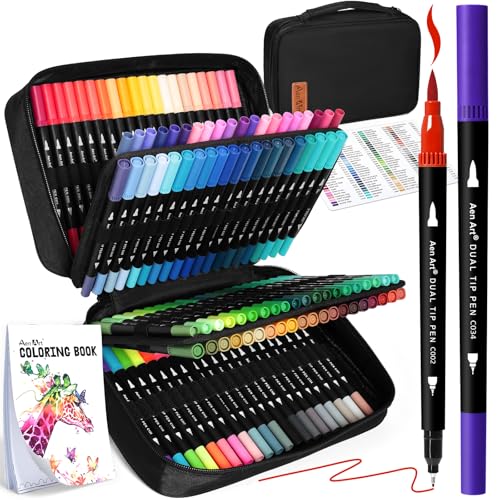
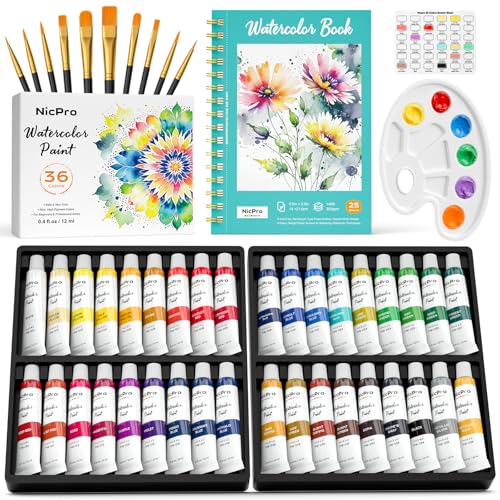
Good news: half of what you need is already in your kitchen and recycling bin. Essentials: a 140lb cold-press watercolor paper block (sheets glued on all four edges so wet paint won't buckle them), a small watercolor set in tubes so you can control how watery the paint gets, water-based dual-tip pens, a white crayon, a glue stick and coarse table salt. Handy extras: crumpled plastic wrap for wrinkle patterns, old magazines or junk mail with big blocks of color, and a white gel pen for bright highlights at the end. Spread newspaper first and work near a window.
Safety Tips
A good quest stays a good story. These are general notes; your gear's manual, the venue's rules and local law come first.
A white crayon does the resist job just as well as wax, with no flame at all. Start there unless you really want the candle.
If you do use a candle, follow its manufacturer's instructions, set it on a hard non-flammable surface, and keep at least a foot of clearance from paper, newspaper, magazines and loose sleeves.
Keep a cup of water or small extinguisher within arm's reach, never leave a lit candle alone on a paper-covered table, and don't move or relight it while the wax pool is hot. Let it cool completely before storing it with your supplies.
Kids don't handle the flame. An adult drips the wax, or everyone uses crayons instead.
Paints, inks and rinse water are not drinks. Keep them well away from mugs and snacks, cap pens between uses, and wash hands before anyone eats.
Crack a window if the marker or glue smell starts to build up.
Step-by-Step Guide
1
Cover The Table
15 min
Lay newspaper over the whole table, because this gets wet. Peel three sheets off the paper block with a plastic knife and set them out landscape, one per technique. Squeeze out two colors minimum, five or six if you want range, and test how they flow on a scrap first. Then hand everyone a brush.
💡 Pro Tips:
• The block's glued edges stop the paper buckling, so you only need tape if you're working on loose sheets.
2
Salt And Plastic Magic
20 min
Postcard one is the texture experiment. Brush clean water right across the paper, then drop watercolor in and watch it bloom and spread on its own. Sprinkle coarse salt into one corner while it's still shiny wet, and press crumpled plastic wrap onto another section. Now the hard bit: walk away for five full minutes and leave it alone.
💡 Pro Tips:
• Salt needs at least five minutes sitting on wet paint to pull those crystal starbursts out. Poking it early kills the effect.
3
Tear Up The Junk Mail
30 min
Postcard two starts in the recycling. Hunt magazines and junk mail for big color blocks, smooth gradients and tiny newsprint text, then tear them by hand instead of cutting. Arrange the pieces on the paper with no glue at all and shuffle them until the layout feels right. Snap a photo of the arrangement, then glue each piece down with a glue stick, smoothing from the center outward.
💡 Pro Tips:
• The photo is your safety net. Once you start gluing, a good arrangement is surprisingly easy to forget.
4
Ink And Hidden Lines
35 min
Back to postcard one: brush the dried salt off and peel the plastic wrap away to see your patterns. Add outlines and hatching with the fine bullet tip of your pens. Then start postcard three by drawing hard with the white crayon, pressing firmly or it won't repel the paint. Wash diluted watercolor over the top and your hidden drawing jumps out.
💡 Pro Tips:
• Press much harder with the crayon than feels normal. A light scribble disappears under the wash.
5
Paint Over The Collage
30 min
Postcard two gets the fun twist: paint straight over your collage. Keep the watercolor watery and the magazine print shows through like colored glass. Load the brush thick and it buries whatever was underneath. Try both on the same piece so you can see the difference side by side, then add line work with the flexible brush tip or the fine point.
💡 Pro Tips:
• Water-based pen ink plays nicely over glue-stick collage, so you can draw right across the seams.
6
Highlights And The Reveal
25 min
Time to make all three pop. Go over the flattest areas with a white gel pen for bright highlights, then deepen a few shadows with darker ink or glue on one small collage accent. Line the three postcards up near a window, photograph them in that natural light, and let the table vote on a favorite. Whoever made it gets to name it on the spot.
💡 Pro Tips:
• Scribble a few words on the back of each piece about what worked. Future you will want to know which trick made that effect.
You just made three small pieces that nobody else in the world has. Photograph the winner, send it to the friend who always says they can't draw, and dare them to try the salt trick.